

In today's fast-paced world, having an extra screen can significantly boost your productivity, whether you're working from home, at the office, or on the go. A portable monitor is an excellent solution for creating an instant second screen setup, providing you with the flexibility and convenience you need. This quick and easy guide will walk you through the process of setting up a portable monitor, ensuring you can enjoy the benefits of a dual-screen workspace in no time.
Quick Start: Instant Setup Process
1. Choose the Right Connections
The first step in setting up your portable monitor is to identify the appropriate connection type. Portable monitors offer various ports, such as HDMI, USB-C, and DisplayPort, to ensure compatibility with a wide range of devices. Here's a brief overview of each connection type:
- HDMI: A widely used digital video interface that transmits both video and audio signals. Most portable monitors come with at least one HDMI port, making it compatible with the majority of laptops and devices.
- USB-C: A versatile port that can handle data transfer, power delivery, and video output simultaneously. Many modern portable monitors feature USB-C ports that support DisplayPort Alternate Mode (DP Alt Mode), allowing for video transmission over USB-C.
- DisplayPort: A digital video interface designed for connecting computers to monitors and other display devices. Portable monitors may have DisplayPort versions like DisplayPort 1.4, which supports up to 5K resolution at 60Hz.

When selecting a portable monitor, consider the available ports on your laptop or device to ensure compatibility. If necessary, you can use adapters or converters to bridge any connectivity gaps.
Also see: Arzopa Z1FC Portable Gaming Monitor | FHD 100% sRGB IPS Screen
Features 2 full-featured Type-C ports and 1 MiniHDMI port, you can easily access your phone or laptop. 3-in-1 mode to maximize your productivity. Also compatible for using with games consoles such as Xbox One, Play station 4/5 or Nintendo Switch so you can connect it wherever you are.
Arzopa Z1FC 144Hz Portable Gaming Monitor 16.1" Screen

- 16.1 Inch Full HD (1920x1080p) IPS with a premium aluminum design.
- 1.7 lb weight and 0.3-inch thickness make it ideal for on-the-go use.
- Supports PS5, Xbox, Switch, Steam Deck, PCs, phone, and more.
- Includes a built-in stand for both portrait and landscape viewing.
2. Connect the Portable Monitor
Once you've identified the appropriate connection type, it's time to connect your portable monitor to your laptop or PC. Follow these step-by-step instructions for a seamless connection:
- Gather the necessary cables, such as HDMI, USB-C, or DisplayPort, depending on your chosen connection method.
- Connect one end of the cable to the corresponding port on your laptop or PC.
- Connect the other end of the cable to the appropriate port on your portable monitor.
- Ensure that the cables are securely plugged in and not loose.
- If your portable monitor has a built-in battery, make sure it is sufficiently charged or connected to a power source.
Some portable monitors come with auto-detection features that simplify the setup process. If your monitor has this capability, it should automatically detect the connection and configure the display settings accordingly.
3. Enable Extended Desktop
To avoid screen mirroring and ensure that your portable monitor functions as a true second screen, you'll need to enable the extended desktop feature. The process differs slightly between Windows and macOS:
For Windows:
- Right-click on your desktop and select "Display settings."

- In the display settings window, click on the dropdown menu next to "Multiple displays."
- Select "Extend these displays" to enable the extended desktop mode.

- Arrange the displays by dragging and dropping them to match their physical placement.
For macOS:
- Click on the Apple menu and select "System Preferences."

- Click on "Displays."
- In the display settings window, click on the "Arrangement" tab.
- Uncheck the "Mirror Displays" option to enable the extended desktop mode.

- Arrange the displays by dragging and dropping them to match their physical placement.
With the extended desktop mode enabled, you can now enjoy the benefits of a dual-screen setup, allowing you to multitask more efficiently and enhance your overall productivity.
In-Depth Setup for Optimal Experience
Optimizing Display Settings
To ensure that your portable monitor seamlessly integrates with your primary display, it's essential to optimize the display settings. This involves adjusting the resolution, orientation, and color calibration. Here's how:
Adjusting Resolution:
- Identify the recommended resolution for your portable monitor, which can be found in the user manual or on the manufacturer's website.
- Open the display settings on your laptop or PC.
- Select the portable monitor and choose the recommended resolution from the available options.
Adjusting Orientation:
- Determine the desired orientation for your portable monitor (landscape or portrait).
- Open the display settings on your laptop or PC.
- Select the portable monitor and choose the appropriate orientation.
Color Calibration:
- Many portable monitors come with built-in color calibration tools. Consult the user manual for instructions on how to access and use these tools.
- If your portable monitor doesn't have built-in calibration tools, you can use third-party software like calMAN or ChromaPure to ensure color accuracy and consistency with your primary display.
By optimizing your display settings, you can ensure that your portable monitor complements your primary display, providing a seamless and visually appealing experience.
Power Management
When using a portable monitor, it's crucial to consider power management to ensure efficient operation and prolonged battery life. Here are some tips for managing power consumption:
- If your portable monitor supports USB-C Power Delivery (PD), you can use a single USB-C cable to both power the monitor and transmit video signals from your laptop, eliminating the need for a separate power adapter.
- Adjust the brightness and contrast settings on both your laptop and portable monitor to reduce power consumption without compromising visual quality.
- Enable power-saving modes on your devices to minimize power usage when the monitor is not actively in use.
- Consider using a power bank to extend the battery life of your laptop and portable monitor when working on the go.
By implementing these power management strategies, you can optimize the performance and longevity of your portable monitor setup.
Portability Features
When choosing a portable monitor, it's essential to consider features that enhance portability and ease of use. Some key features to look for include:
- Foldable stands: A built-in, foldable stand allows you to easily prop up your monitor and adjust the viewing angle without the need for additional accessories.
- Slim designs: Slim and lightweight monitors are easier to carry and take up less space in your bag or backpack.
- Travel cases: A protective travel case or sleeve can help safeguard your portable monitor from scratches and damage during transport.
These portability features can greatly improve your experience with a portable monitor, making it more convenient and practical for use in various settings.
Also see: Arzopa A1S Ultra-Thin Portable Monitor
This portable monitor is designed to be thin, slim &light. It is only 0.16 inches thick and 1.1 pound in weight. Expand your productivity on the go. Extend your screen at the office, at home or on the go with this convenient, compact display. Conveniently set up your monitor to the left, right or behind your laptop. The dual USB-C ports on each side allow for versatility and better portability.
Arzopa A1S Ultra-Thin Portable Monitor | 14” FHD 1080P
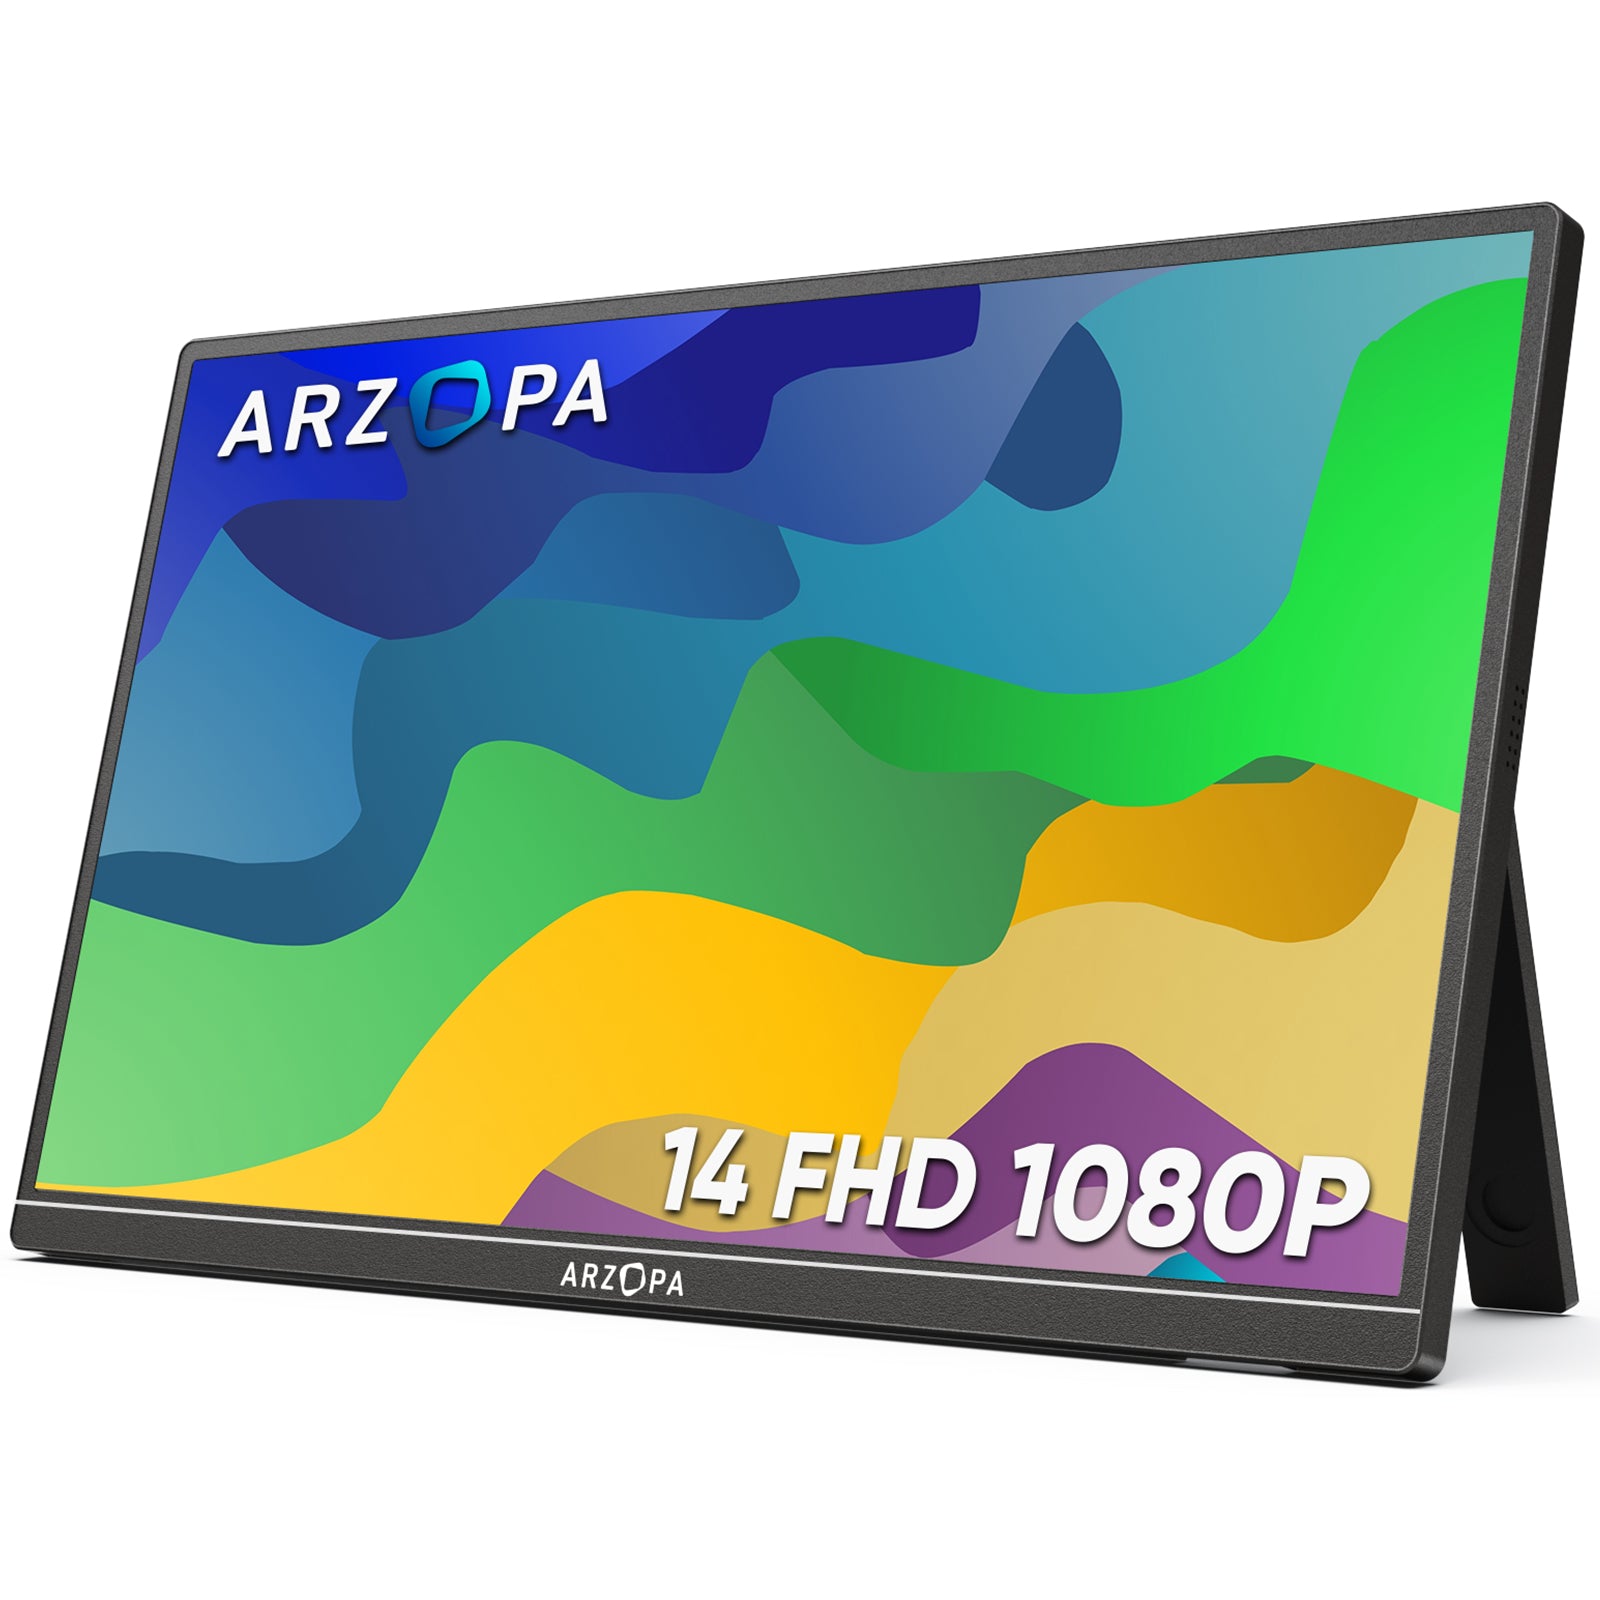
- Slim, Light and Portable,0.16 inches thick and 1.1 ponds in weight. easy to carry for business trip or travelling.
- 14.0" Full HD 1920 x 1080 portable anti-glare IPS display with 60HZ resolution.
- Widely Compatible with a laptop, a PC, a Mac, a smartphone, an Xbox, a PS5, a Switch, a Steam Deck, etc.
- Plug and Play,simply connect with one USB-C cable for video signal and power.
Multi-Device Connectivity
Many portable monitors offer multi-device connectivity, allowing you to switch between different devices effortlessly. This is particularly useful if you want to use your portable monitor with multiple laptops, tablets, or smartphones. Here's how to set up multi-device connectivity:
- Identify the connectivity options available on your portable monitor, such as USB-C, HDMI, or DisplayPort.
- Determine which devices you want to connect to your portable monitor and ensure they have compatible ports.
- Connect your devices to the portable monitor using the appropriate cables or adapters.
- Use the monitor's built-in controls or your device's display settings to switch between connected devices as needed.
Some portable monitors also offer wireless connectivity options, such as Bluetooth, for connecting accessories like keyboards and mice. To set up Bluetooth accessories:
- Ensure that your portable monitor and the accessory you want to connect both have Bluetooth capabilities.
- Put the accessory in pairing mode, following the manufacturer's instructions.
- On your portable monitor, navigate to the Bluetooth settings and select the accessory to establish a connection.
- Once paired, you can use the Bluetooth accessory with your portable monitor seamlessly.
By leveraging multi-device connectivity and Bluetooth accessories, you can create a versatile and efficient workspace that adapts to your needs.
Troubleshooting Common Issues
Despite the ease of setting up a portable monitor, you may occasionally encounter issues. Here are some common problems and their solutions:
Resolution Problems
If you experience resolution mismatches or poor image quality, try the following:
- Ensure that your portable monitor and laptop or PC support the same resolution.
- Check that the cable connections are secure and properly connected.
- Update your graphics card drivers to the latest version.
- Adjust the resolution settings in your device's display settings to match the recommended resolution for your portable monitor.
Connection Drops
If your portable monitor frequently loses connection or experiences signal drops, consider these solutions:
- Check that the cables are properly connected and not damaged.
- Ensure that your laptop or PC's ports are functioning correctly by testing with another device.
- Try using a different cable or adapter to rule out any issues with the current one.
- Update your portable monitor's firmware to the latest version, if available.
OS-Specific Tips
Some operating systems may have specific settings or requirements for using a portable monitor. Here are a few tips:
- For Windows: Make sure that your graphics card supports multiple displays and that the necessary drivers are installed.
- For macOS: Ensure that your portable monitor is compatible with your Mac model and that you have the latest version of macOS installed.
- For Linux: Verify that your distribution supports multiple displays and that you have the appropriate drivers installed for your graphics card.
If you continue to experience issues after trying these troubleshooting steps, consult your portable monitor's user manual or reach out to the manufacturer's support team for further assistance.
Portable Monitor Accessories for Enhanced Setup
To further enhance your portable monitor setup, consider investing in some useful accessories:
Stands and Mounts
Portable monitor stands and mounts can help you achieve a more ergonomic and comfortable viewing experience. Some options include:
- Adjustable desk stands that allow you to change the height and angle of your monitor.
- VESA mounts that attach to the back of your monitor and can be mounted on a wall or desk arm.
- Foldable travel stands that provide a stable base for your monitor while on the go.
Carrying Solutions
To protect your portable monitor during transport and make it easier to carry, consider these carrying solutions:
- Protective sleeves or cases that cushion your monitor and prevent scratches.
- Backpacks or bags with dedicated compartments for portable monitors, ensuring safe and secure storage.
- Hard-shell travel cases that offer extra protection for your monitor during air travel or long journeys.
By using these accessories, you can create a more comfortable and convenient portable monitor setup that suits your specific needs and preferences.
Conclusion
Setting up a portable monitor for an instant second screen is a quick and easy process that can greatly enhance your productivity and flexibility. By following this comprehensive guide, you'll be able to choose the right connections, optimize your display settings, and troubleshoot common issues to ensure a seamless experience.
Remember to consider factors like portability features, multi-device connectivity, and accessories when selecting and setting up your portable monitor. With the right setup, you can enjoy the benefits of a dual-screen workspace wherever you go.
We hope this guide has been helpful in your journey to create an instant second screen with a portable monitor. If you have any further questions or experiences to share, please feel free to leave a comment below. Don't forget to share this article with others who may find it useful!